Dishwasher Installation: How to Prep So Install Day Goes Smooth
Before your dishwasher installer shows up, a few quick preps make the job faster, cleaner, and drama-free. Pro checklist from a Milledgeville appliance installer.
Getting a new dishwasher should be a quality-of-life upgrade, not a stressful install day.
If you prep a few things before your installer arrives, the job moves faster, cleaner, and with fewer surprises.
Use this checklist to get ready.
1) Confirm the opening size before install day
Most standard dishwashers fit a 24-inch opening, but not every kitchen is perfectly square.
Before install day, measure:
- Width at the front and back of the opening
- Height from finished floor to underside of countertop
- Depth from cabinet edge to rear wall
If measurements are tight, send them to your installer before the appointment.
2) Check water shutoff access
Your installer needs access to the hot-water shutoff valve.
Quick prep:
- Locate the valve under the sink
- Test that it turns off and back on
- Clear out stored items blocking access
If the valve is seized or leaking, handle that before install day so the install appointment stays on schedule.
3) Confirm the electrical setup
Dishwashers are typically either:
- Hardwired, or
- Plug-in (with a receptacle in adjacent cabinet)
Know which setup your unit requires and make sure power access is available.
If electrical updates are needed, complete them before your install appointment.
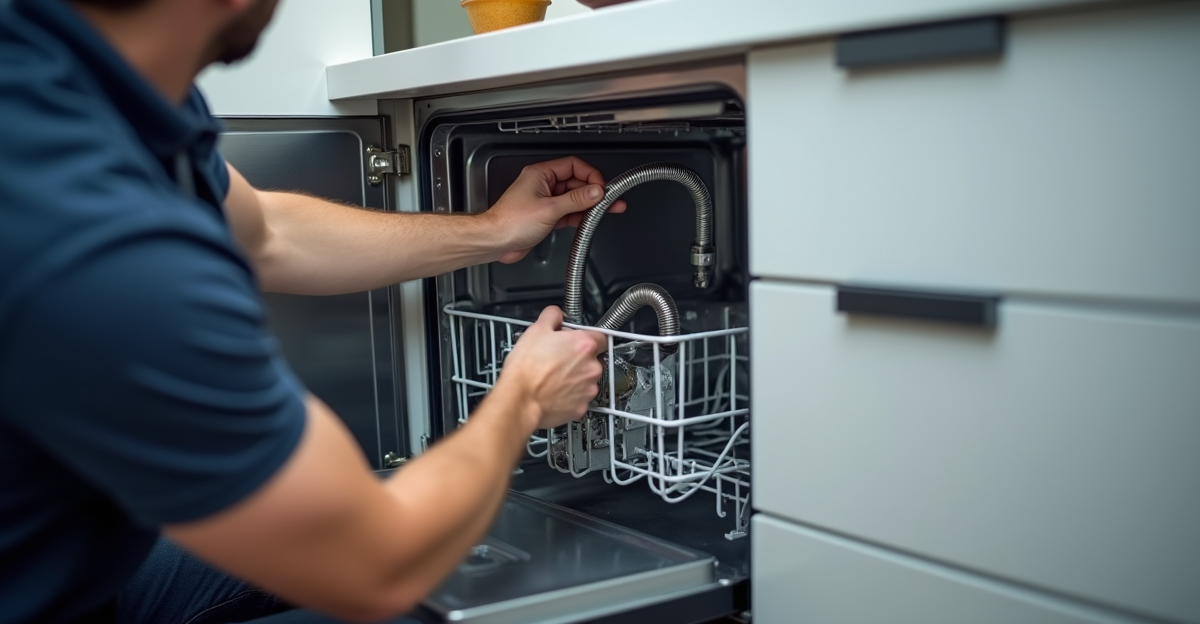
4) Inspect drain line path and disposal connection
A clean drain setup matters for performance and leak prevention.
Before install day:
- Ensure space for proper drain hose routing
- If connecting to a disposal, confirm knockout plug status for new setups
- Clear under-sink clutter so routing can be done cleanly
5) Make a clear path from entry to kitchen
Install teams move tools and appliances in and out quickly when access is open.
Do this ahead of time:
- Move rugs/floor obstacles
- Secure pets
- Clear path from door to kitchen
- Empty the cabinet under sink
This saves time and helps protect floors and corners.
6) Have model + order info ready
Keep these handy:
- Appliance model number
- Delivery/retailer paperwork
- Any install accessories included in the box
Fast access to this info helps avoid delays if a compatibility question comes up.
7) Ask what is included in your install service
Not all installers include the same materials.
Before booking, ask:
- Is old unit disconnect/removal included?
- Are new supply lines included?
- What warranty is included on workmanship?
Clear expectations up front prevent day-of confusion.
Day-of quick checklist
- Opening measured and verified
- Water shutoff located and accessible
- Electrical setup confirmed
- Under-sink area cleared
- Install path cleared
- Model/order info ready
For Milledgeville + Macon homeowners
Need professional installation in Milledgeville or Macon?
Call/Text (478) 280-4099 or book at proapplianceinstalls.com.
Flat-rate pricing. Install-focused service. 90-day workmanship warranty.